There are many ways to perform skin retouching, but I’ve settled on one because I believe it’s the simplest and quickest method, namely frequency separation into two frequencies.
1. High frequencies.
Working with skin texture.
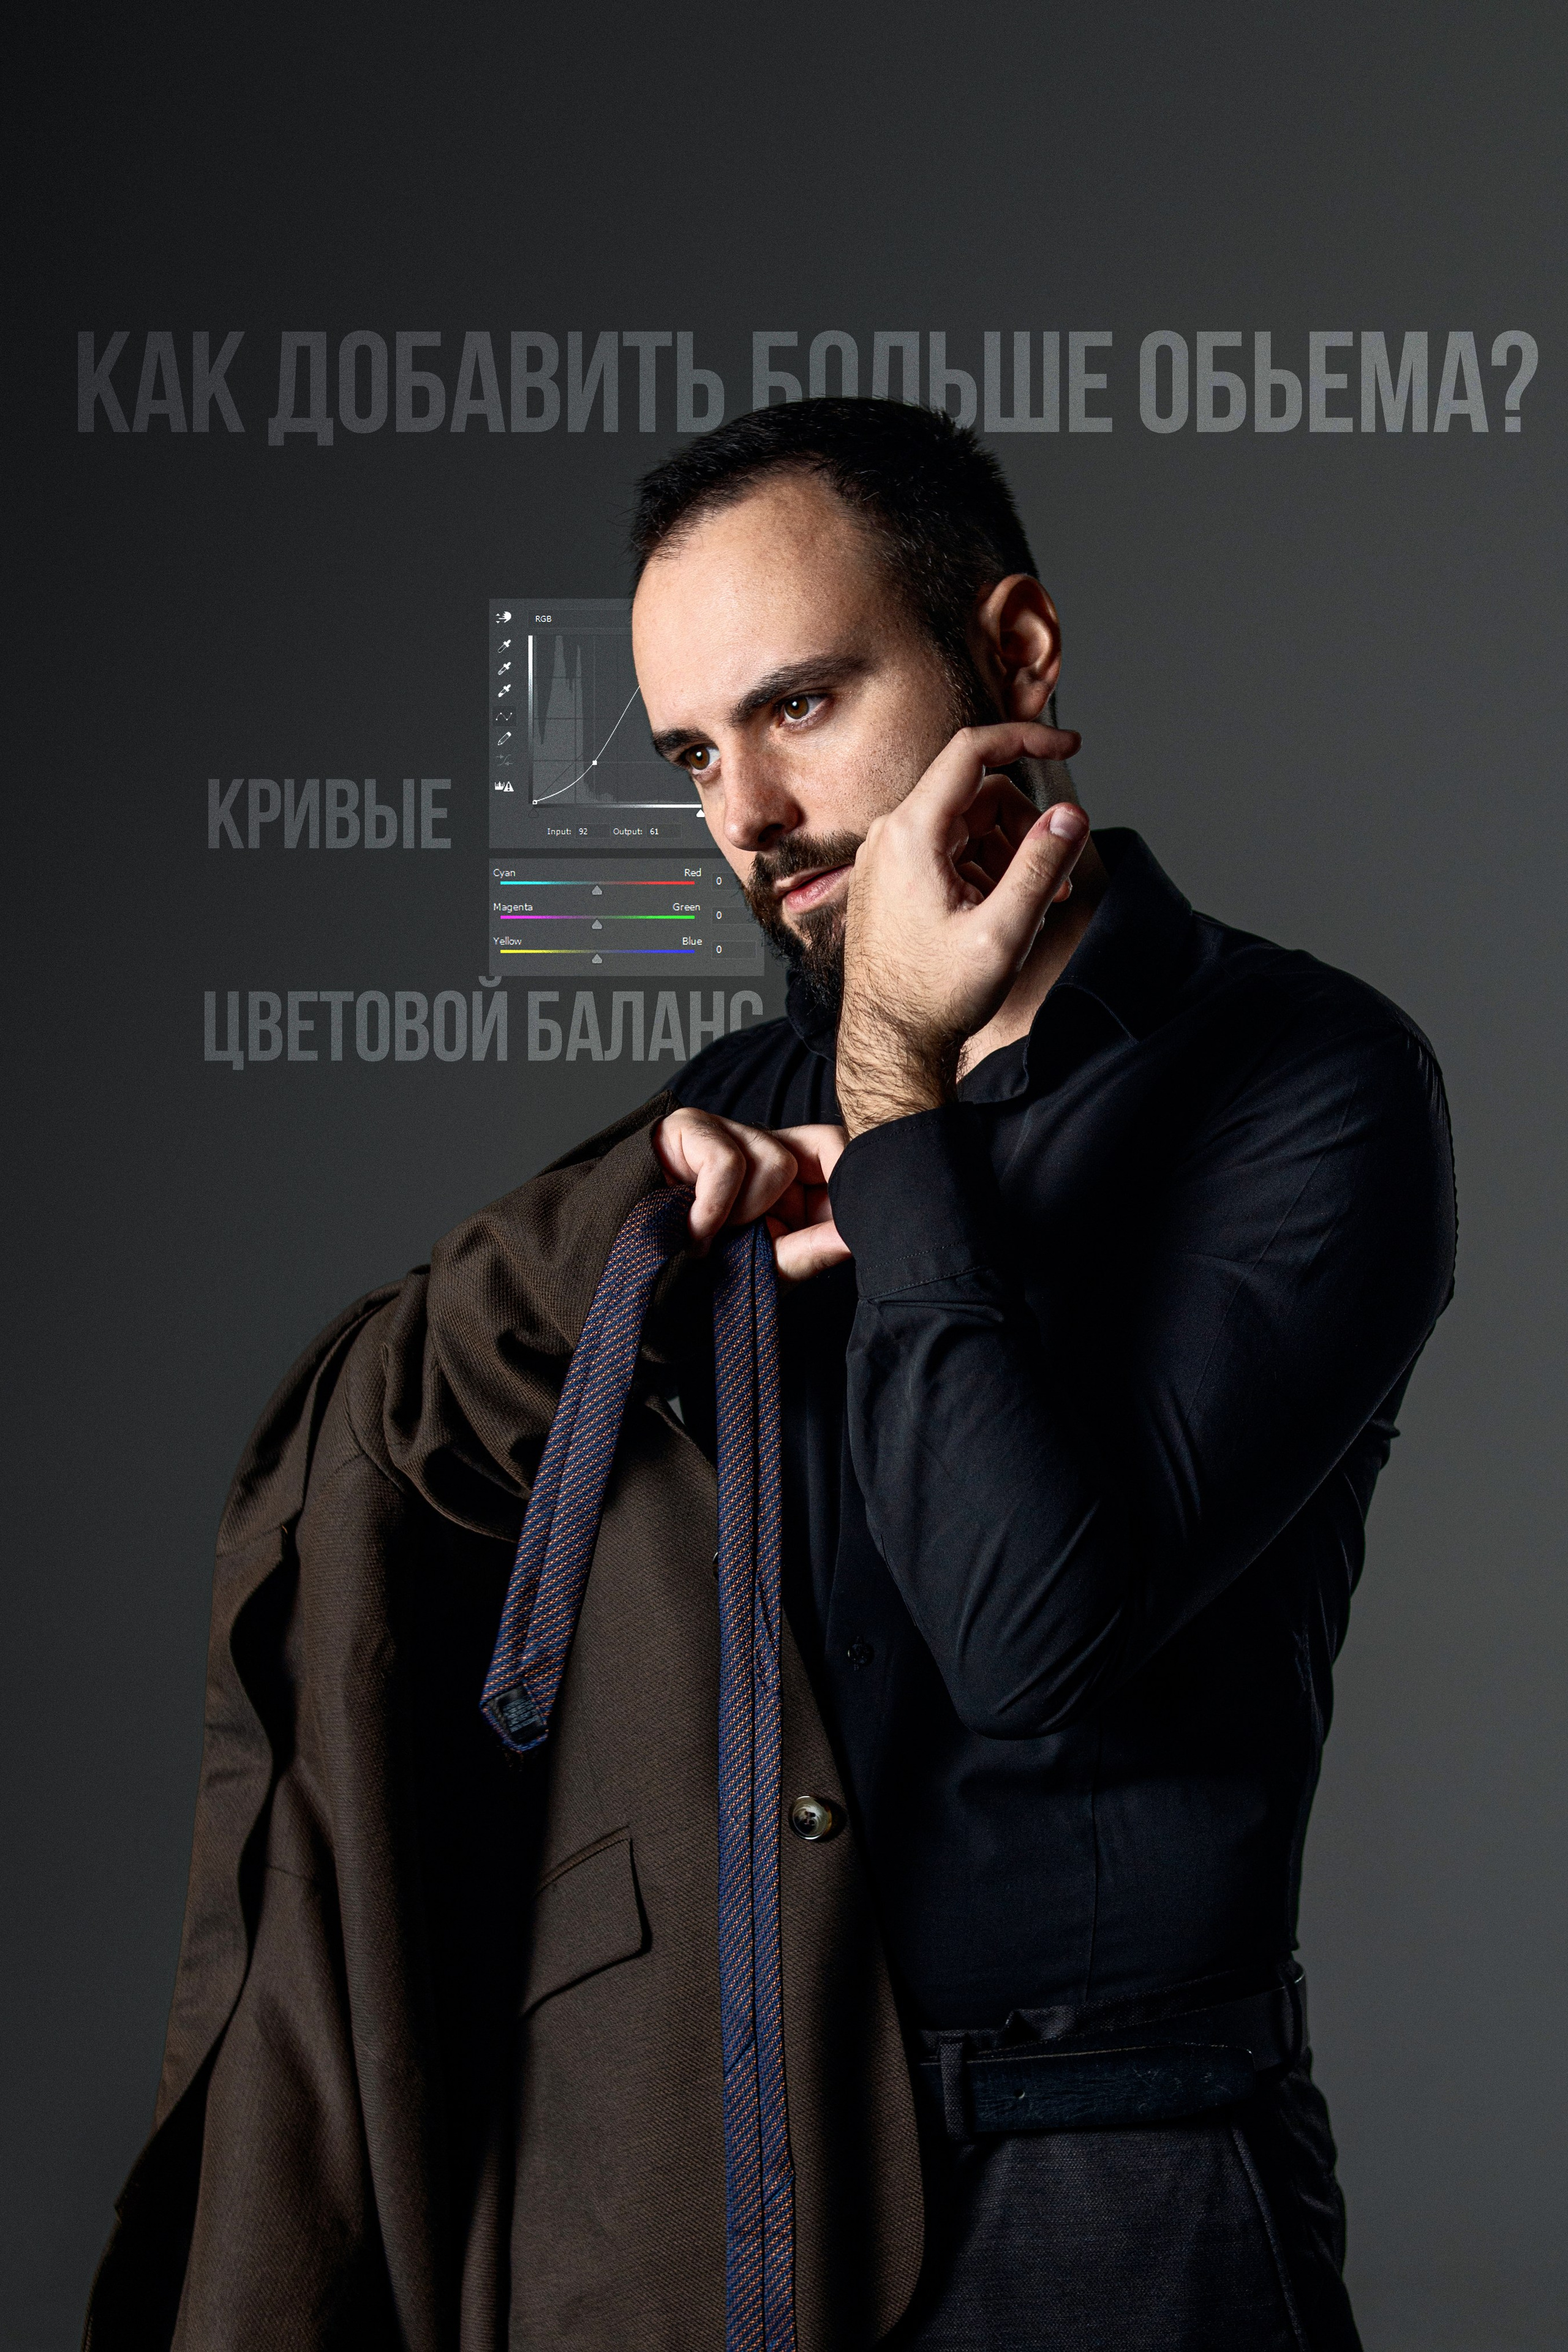
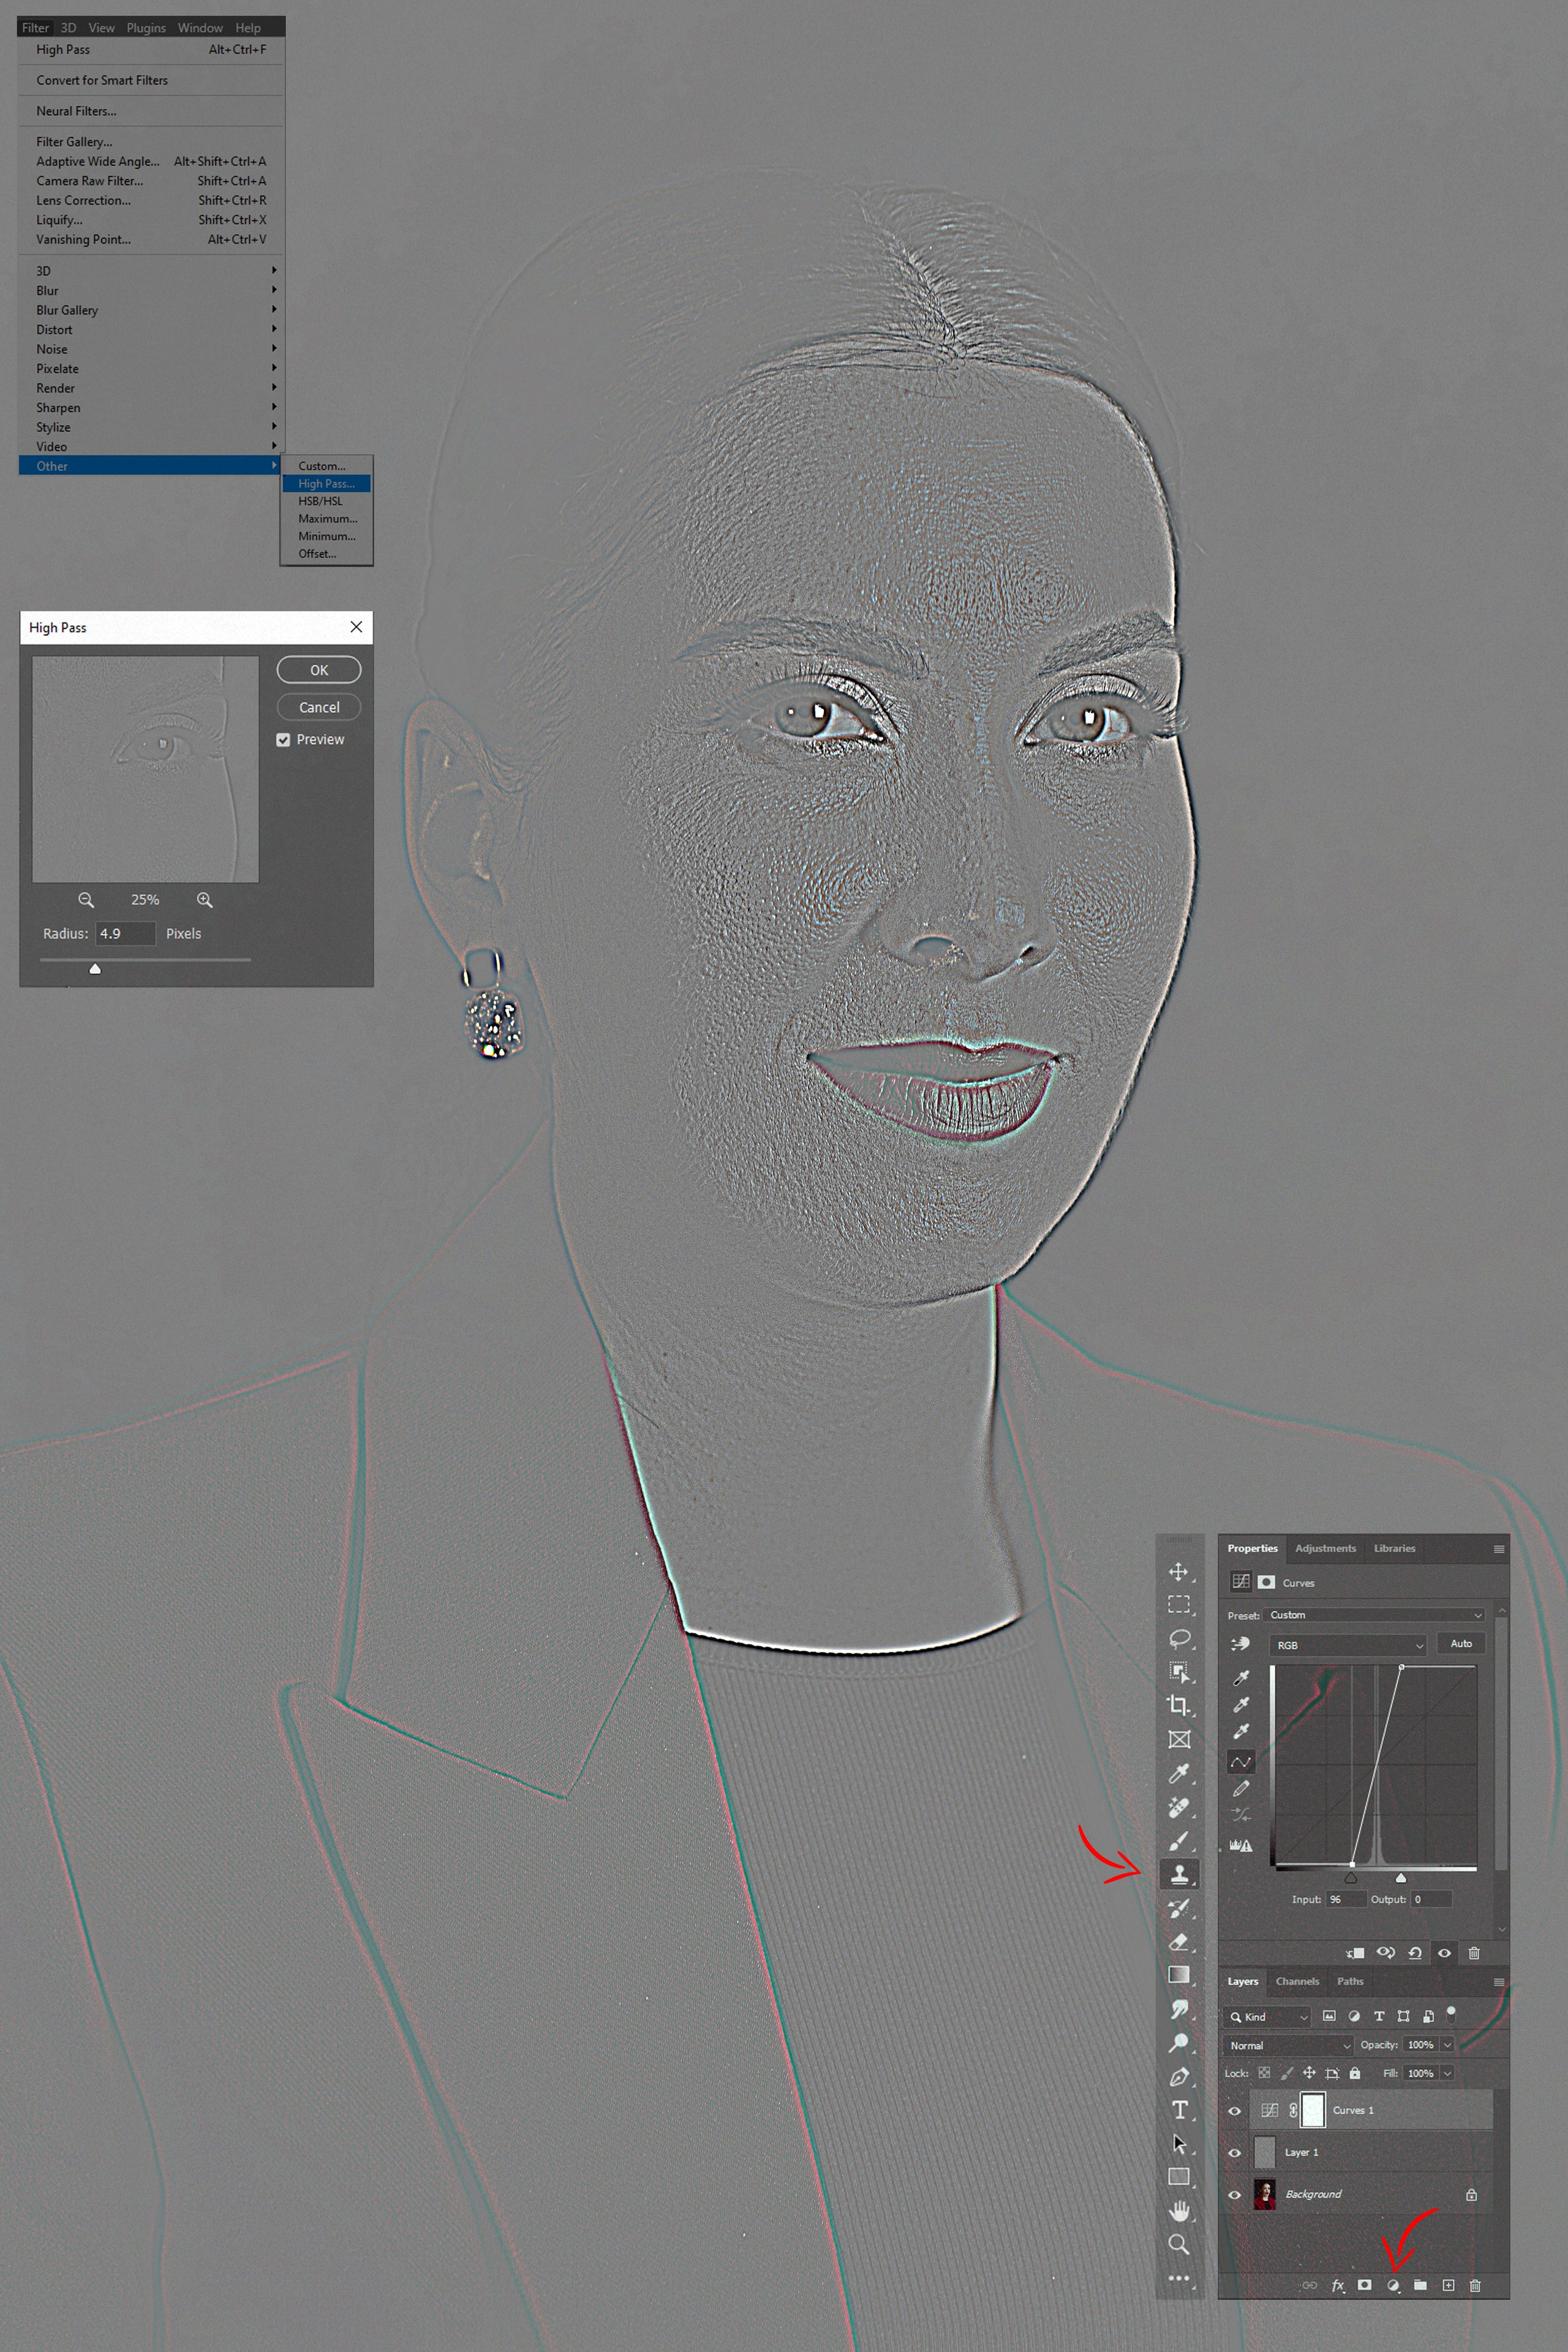
Open Photoshop and add the portrait you will be retouching. Duplicate the layer by pressing Ctrl+J (Win). Then, go to the menu and find “Filter” → “Other” → “High Pass…”. Choose a value that reveals the skin texture without color. This could be a value like 5 or 9, for example. Next, under the layers, click on “create new fill or adjustment layer” (as shown in the arrow in the image) and select “Curves…”. Use the curve to create a more contrasty image by moving the black and white points towards the center. Don’t forget to link the curve layer with the image layer by placing the curve layer above the portrait layer, then Alt-click on the curve layer and specify the portrait layer. Once you’ve completed these technical steps, move on to the creative ones. Take the Clone Stamp Tool (as indicated in the image) and start working with the skin texture, copying healthy areas to the areas with skin issues. When you finish working on problematic areas of the skin, move on to the next step.
2. Low frequencies.
Working with light and shadow rendering.
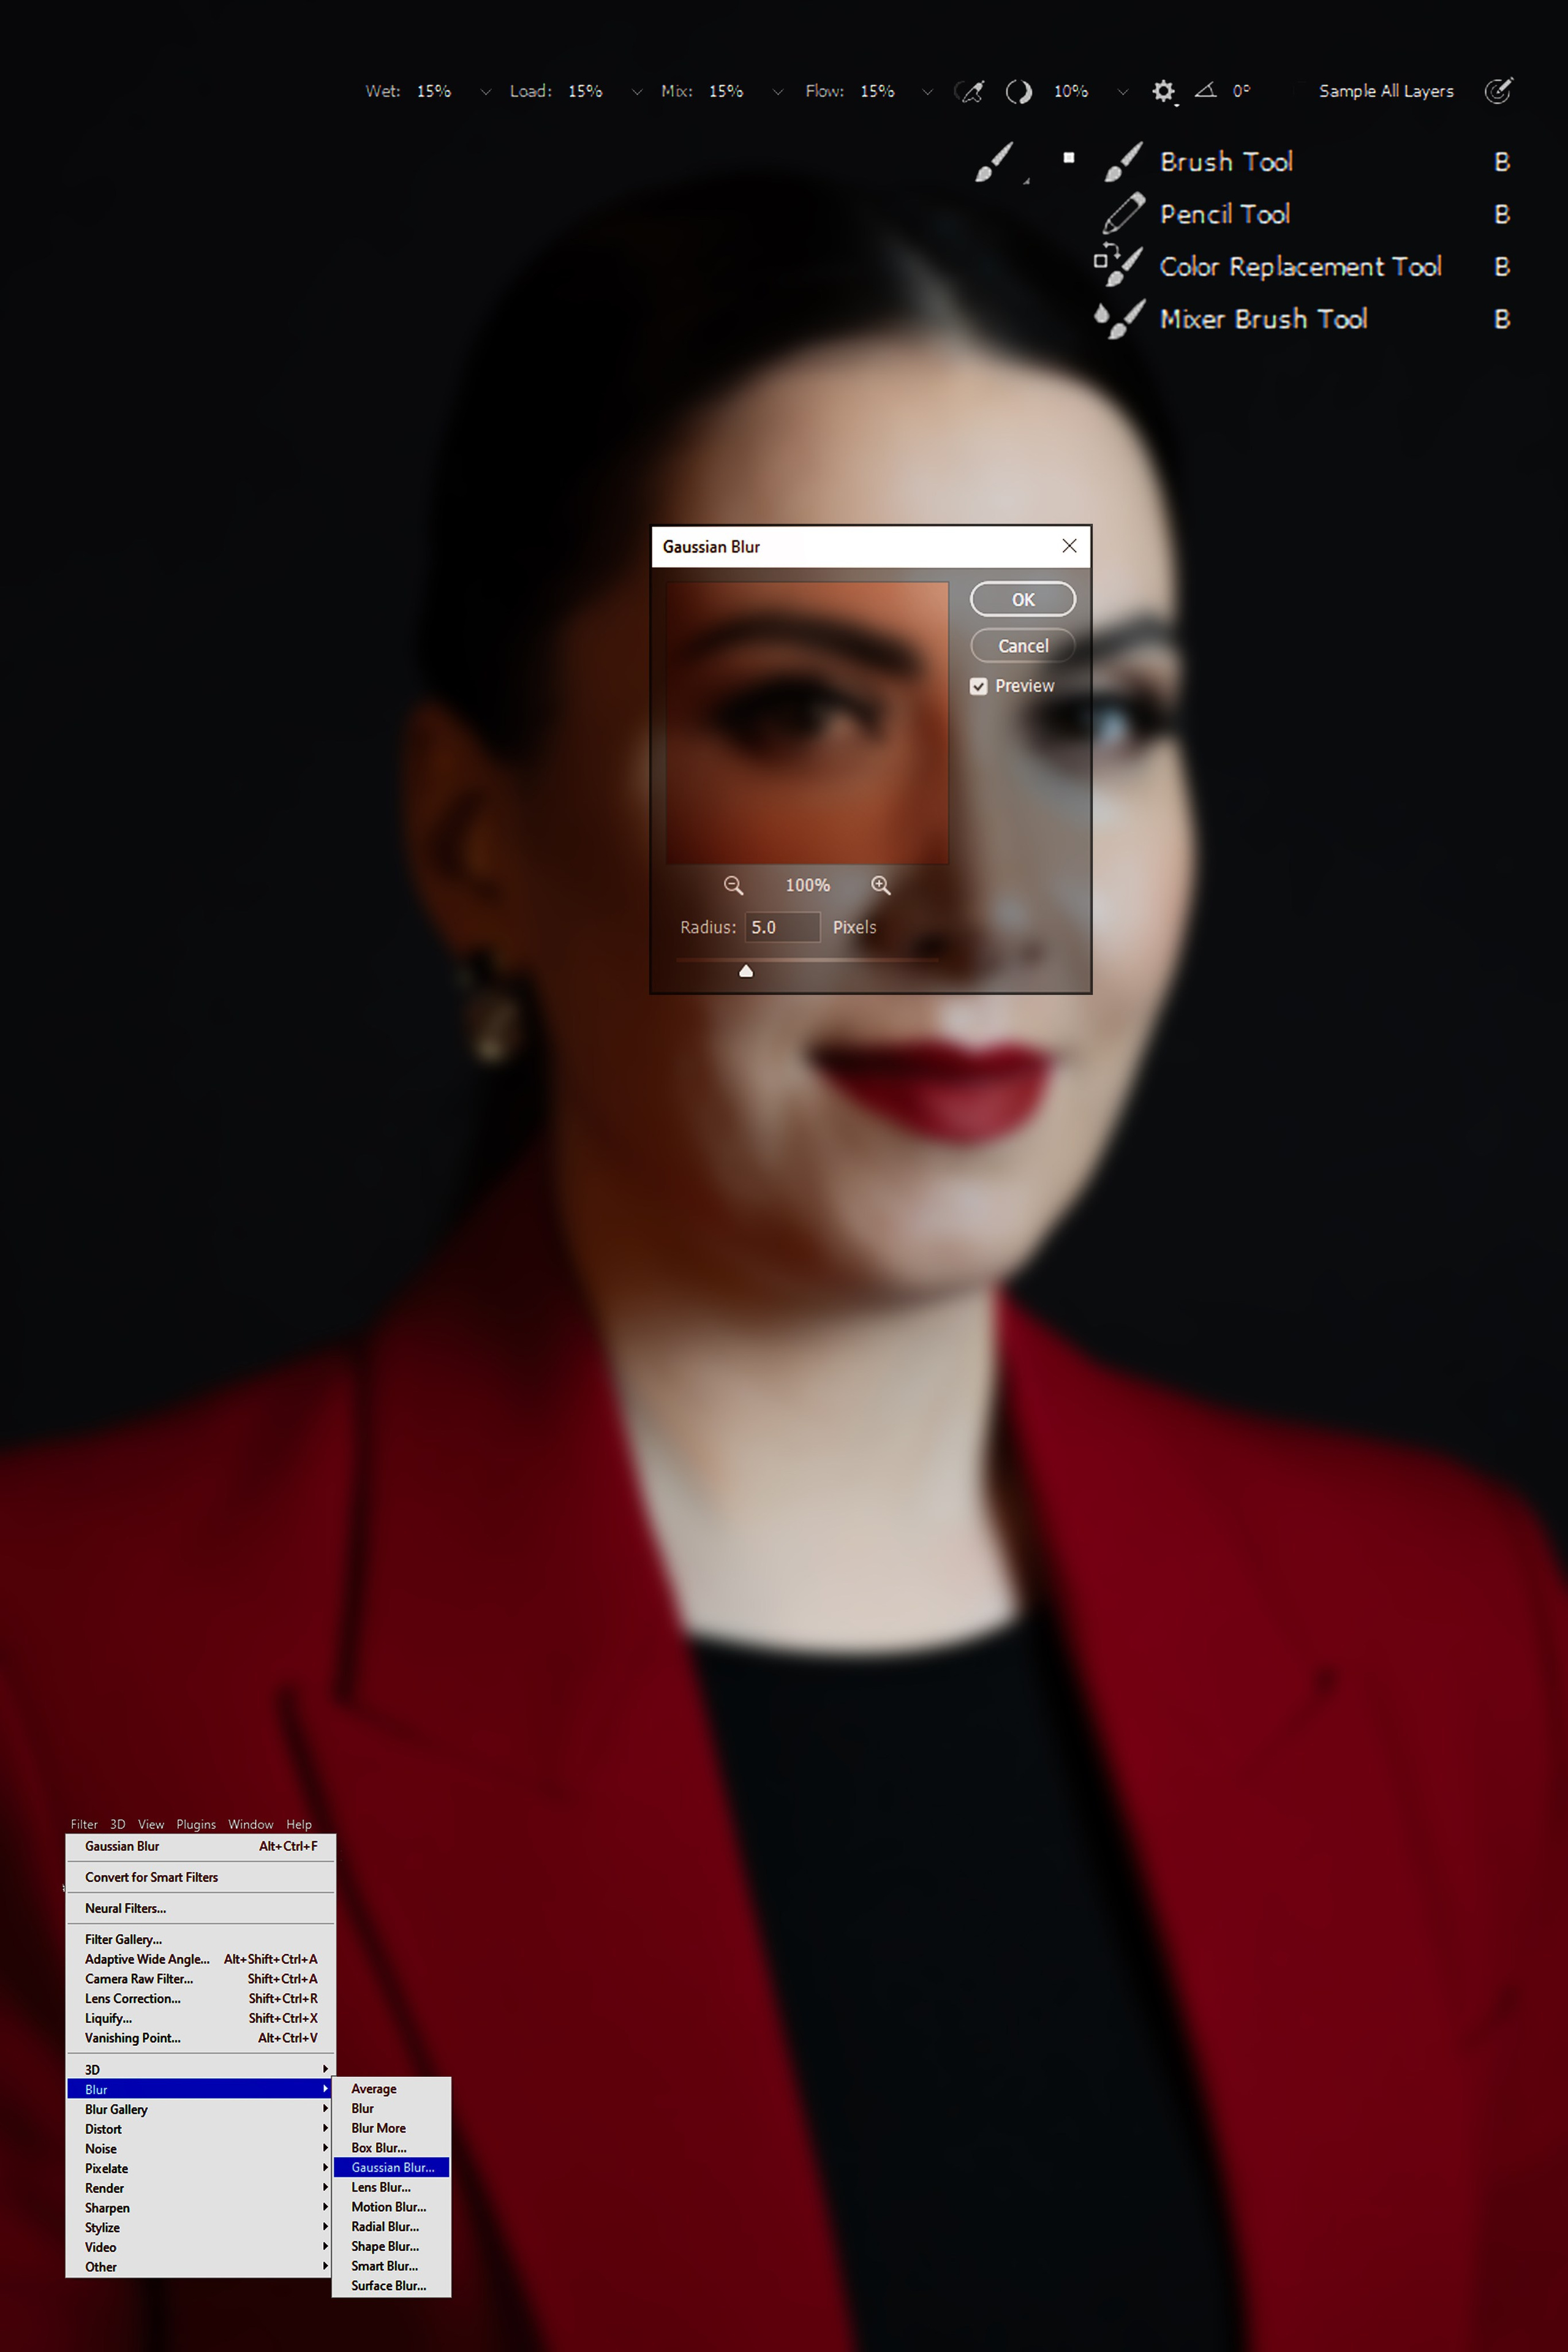
Turn off the layer with the high frequencies, duplicate the original layer. Then, go to the menu “Filter” → “Blur” → “Gaussian Blur…” and choose the same value as for the high frequencies. After that, select the “Mixer Brush Tool”, configure the tool as shown in the image, and start working with the photograph. It’s important to understand that the “Mixer Brush Tool” works like a wet brush. The principle is as follows: find a reference area of the skin based on the light and shadow rendering, click on it while holding the “Alt” key (to copy the area of the skin), and then smear it onto harsh light and shadow areas to soften the light and shadow rendering.
3. Grouping.
Grouping the completed work.
After you have finished working with the low frequencies, you will need to combine the upper and lower frequencies into one photograph, which will only change the areas that have been worked on. To do this, click on the layer with the high frequencies, enable it if it was disabled. Change its blending mode to “Linear Light”. Then select the curve and change its angle to precise values, namely: the black point “Input — 0”, “Output — 64”, and the white point “Input — 255”, “Output — 192”. I hope this article was helpful for you. Good luck with your work!
Articles